Page Type: REFERENCE
To setup a WebSwitch remote power switch, first set configuration options for the device via a web browser, then connect the device to your PC, and finally associate the serial number of the device with the PC.
For WebSwitch units shipped from Scanner Master:
Before shipping, Scanner Master performs setup steps 1-6 (preparing the unit). This process is the same for all units (this can be done when the product is put into stock, there is no customization needed for individual orders)
At the install site, the customer performs steps 7-8 (knowing which PC is attached to which outlet) and provides this information to their Rangecast sales representative
After the unit is connected, Rangecast performs step 9 (recording this information to enable automatic control)
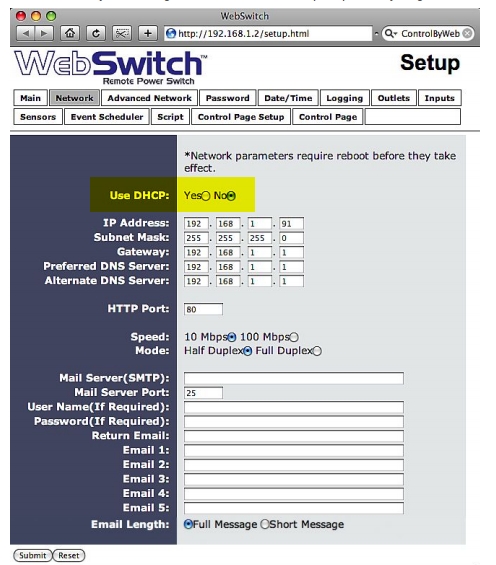
1) The WebSwitch product ships with a static IP 192.168.1.2. Connect the WebSwitch to a LAN where this is an allowed address.
2) From a PC on the same LAN, in a web browser navigate here:
http://192.168.1.2/setup.html
3) Enter the device's default username (admin) and password (webswitch)
4) Navigate to the Advanced Network tab, and make three changes (enable Remote Services, enter a domain name and port number) indicated in the highlighted portion of the image, and then press SUBMIT


The instructions above are designed to configure a WebSwitch from factory settings so that it may be used with Rangecast. If you already have a WebSwitch but don't know the current settings of your device (e.g. IP address, password, etc), you may restore the WebSwitch to factory defaults and then apply the process described above. The follwing instructions are a screenshot from the manufacturer's website:
https://www.controlbyweb.com/support/faq/reset-to-factory-defaults.html

SYMPTOM